Project Run and Play is once again rounding up creations using the Pantone Color of the Year. For 2023, Pantone declared Viva Magenta to be the 'it' color. "Viva Magenta is brave and fearless, a pulsating color whose exuberance promotes a joyous and optimistic celebration, writing a new narrative. It is an animated red that revels in pure joy, encouraging experimentation and self-expression without restraint, an electrifying, and a boundless shade that is manifesting as a stand-out statement." Boy, do they know how to describe a color!?!
I was tasked with selecting the best fabric representing Viva Magenta from Elliott Berman Textiles. With Tandy's supervision, we landed on an Italian abstract print viscose challis. When the fabric arrived, I was a tad jealous it wasn't for me. While I haven't necessarily made anything for myself in such a bold print, the feel of this fabric is pretty dreamy. And, no, I'm not obligated to say so.
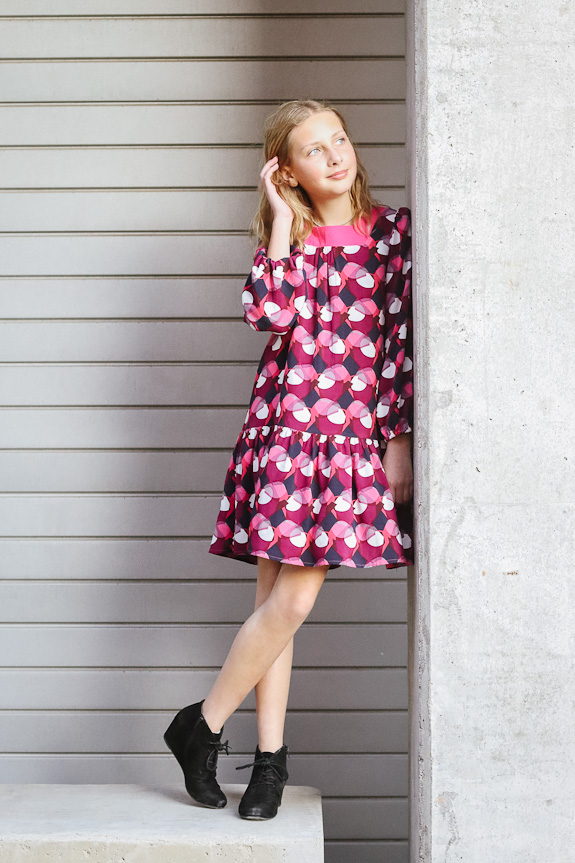


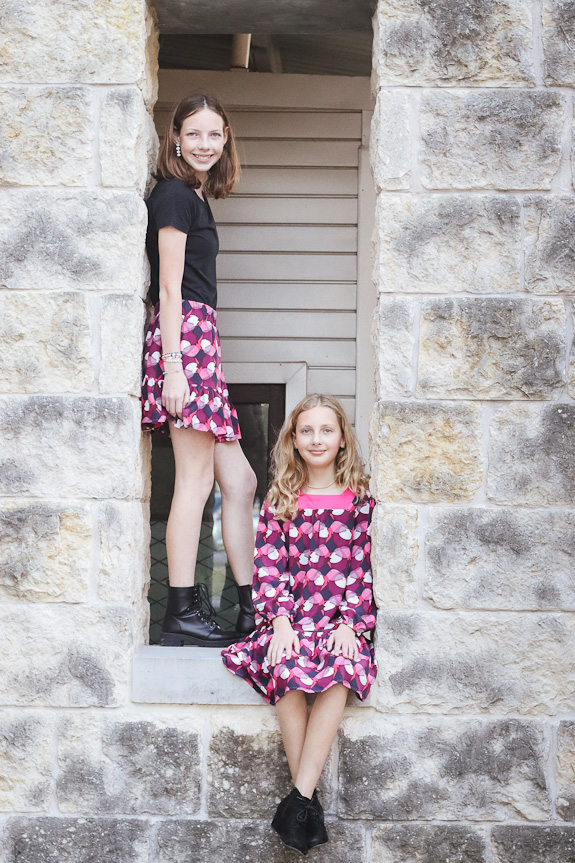
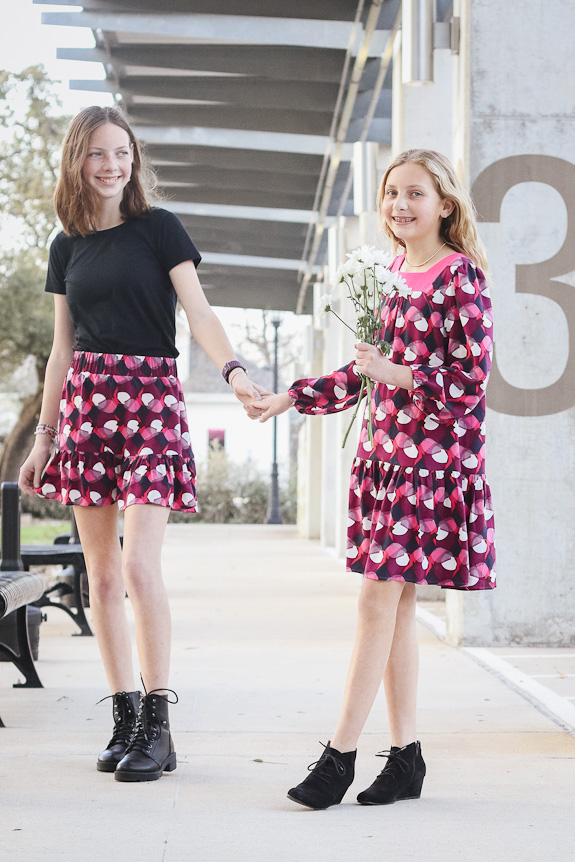
Tandy has a much loved square neck dress from Target that was getting too short, so I did my best to recreate it with the Squared Away Dress pattern from Project Run and Play. The result looks drastically different from the original pattern, but you can see from the altered pattern pieces below, the changes weren’t that dramatic. I created a long puff sleeve by straightening the sides, spreading sections of the pattern piece, and adding ¾” to the sleeve head. I lengthened the front and back bodice and added width at the center fold to create gathers at the neckline. Through my initial trial version, I discovered I could safely omit the back closure. The bottom skirt is a gathered rectangle.


Avery and I were thrilled that there was just enough fabric left to make an Evergreen Skirt for her. This pattern has so many length options, but we were pretty limited with yardage at this point. The bottom tier is cut between the ruffle and short tier height to accommodate what I had left.


Teens and pre-teens are hard to please, but these were a success. Tandy wore her dress to a Daddy/Daughter Dance, so it must have passed the test.


 |
| by Catie Sas Photography |